

How To Take A NEMS Standard Stream Bug Sample
Collecting a freshwater macroinvertebrate sample might seem as simple as dipping a net into a stream, but if the goal is real data that can inform decisions, support compliance, or be used for official reporting, the process must be scientifically sound. In New Zealand, that means following the NEMS protocol (National Environmental Monitoring Standards). These standards align with the National Policy Statement for Freshwater Management 2020 (NPS-FM), which sets out how councils and organisations must monitor the health of our waterways. Together, these frameworks ensure that freshwater monitoring is consistent, reliable, and legally defensible, whether it’s for resource consent, State of the Environment (SOE) reporting, or national indicators of ecological health.
At Aqualore Labs, this is the foundation we work from. Whether you're monitoring a stream for council reporting, a farm environment plan, or long-term freshwater health, this guide will walk you through how to collect a NEMS compliant macroinvertebrate sample step by step.
This is the method that ensures your results can be trusted and that your sample is suitable for metrics like MCI (Macroinvertebrate Community Index), QMCI (Quantitative Macroinvertebrate Community Index), ASPM (Average Score Per Metric), and others commonly used for stream health reporting across the country.
Why Does It Matter?
Macroinvertebrate sampling shows more than a moment in time, it reveals how livable a stream really is. These small creatures don’t just pass through the water; they live in it. That means they’re continuously exposed to whatever conditions are present, from clean, healthy flow to pollution, sediment, low oxygen, or habitat loss. So if the bugs aren’t thriving, the waterway probably isn’t either.
Because macroinvertebrates live in the stream for weeks to months, they reflect long term conditions, not just what the water was like on a single day. That makes them a stronger indicator of lasting issues like pollution, habitat disturbance, or recovery, compared to standard water tests that only capture a snapshot in time.
That’s why NEMS sampling is the gold standard for environmental monitoring in New Zealand. It uses consistent methods, so results can be compared across years, seasons, or sites giving councils, landowners, and communities a clear picture of change.
For official reporting like SOE or resource consents, this level of reliability is essential. But even for independent monitoring, a well taken sample holds real weight and becomes a baseline you can return to, year after year.
It’s not just data. It’s evidence you can act on.
What You’ll Need
To take a proper NEMS compliant sample, you’ll need:
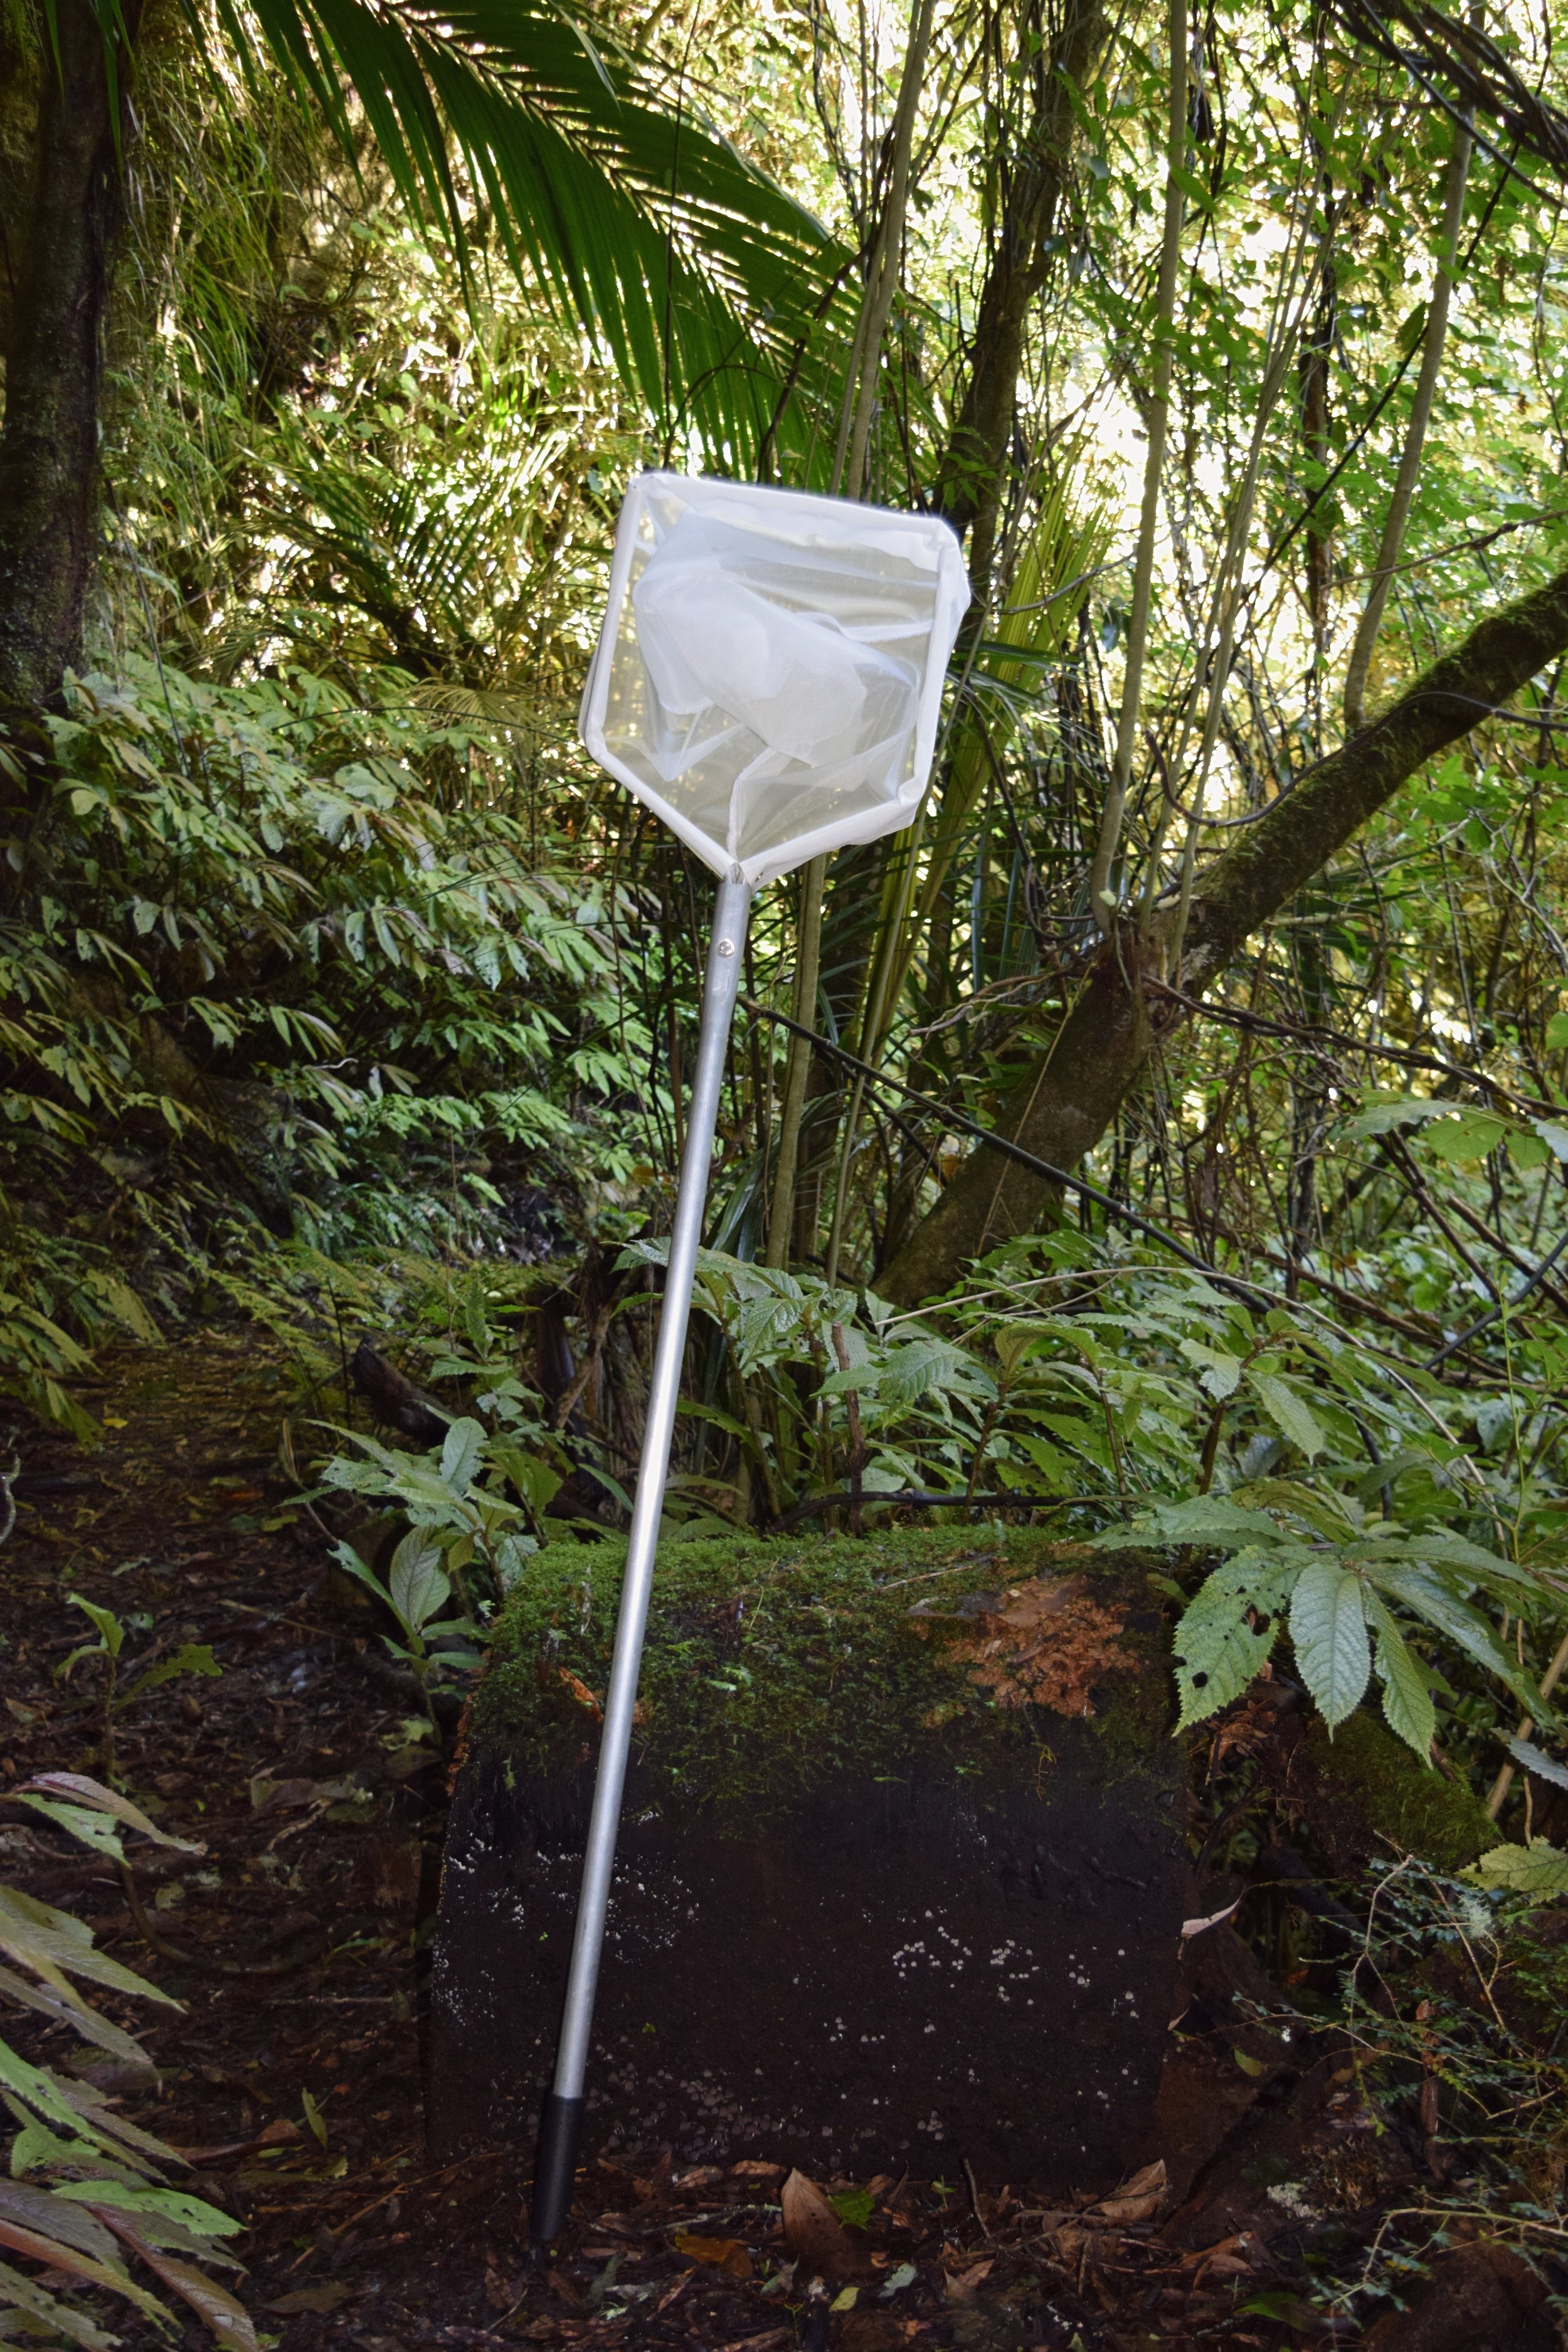
A kick net (30 to 40 cm wide, at least 50 cm deep) with 0.5 mm mesh
Plastic sample container (500 mL to 1 L) with screw top
Waterproof labels (inside and outside the container)
Ethanol or isopropyl alcohol (for preserving the sample)
Chain of Custody form (if sending to a lab)
Protective gloves, gumboots or waders, and a field notebook (optional but helpful)
We recommend preparing your labels and container before heading into the field, but always double check site details onsite to avoid any mix-ups.


Step by Step: How to Take a Macroinvertebrate Sample (NEMS Protocol)
1. Choose Your Site Carefully
Your sampling reach should be:
20 to 100 metres long, depending on stream width (ideally ~20× the average channel width)
Upstream of bridges, culverts (pipes or tunnels that carry water), or confluences (where two streams meet), these features can alter flow, sediment, or habitat, so sampling above them gives a clearer picture of the stream’s natural state
Representative of the stream type (don’t cherry-pick a “nice” or “bad” section)
Ideally permanently marked for future monitoring (e.g. with a stake)
Make sure the stream is wadeable (0.1 to 0.6 m deep) and safe to access.
2. Identify the Mesohabitats (Types of Physical Habitats)
Look for a mix of mesohabitats within your sampling reach:
Riffles
Shallow, fast flowing sections with a broken surface, often have coarse substrates like gravel or cobbles and support high macroinvertebrate diversity
Runs
Deeper than riffles but still moving swiftly with a smooth surface, provide stable flow and good oxygen levels
Pools, undercut banks, and root mats
Slower flowing or sheltered areas where organic matter builds up, important especially in soft-bottomed streams where riffles and runs may be limited
Sampling across a variety of these habitats ensures your sample captures the full range of macroinvertebrates present, not just those that prefer one type of environment. This gives you a more accurate and complete picture of overall stream health.
3. Take 4–8 Subsamples
To collect one proper macroinvertebrate sample, you’ll need to take multiple subsamples, smaller portions collected from different spots within your sampling reach. NEMS recommends collecting 4 to 8 subsamples, and in practice, most monitoring programmes use five.
That’s because macroinvertebrates aren’t spread evenly through a stream. Some cling to rocks in fast riffles, others hide in leafy debris or softer silts. By sampling from a range of locations, your sample reflects the full mix of life, not just what’s found in one spot.
Here’s how to do it:
Start at the downstream end and work upstream, so you don’t stir up sediment into areas you haven’t sampled yet.
Choose 4–8 spots, spaced roughly 2 metres apart, throughout your sampling reach.
At each location, disturb the streambed upstream of your net for 1 to 2 minutes using your feet to kick, or your hands or a brush to move rocks, wood, or leaf packs.
Let the current carry the dislodged bugs into your net.
After each subsample, empty the net into a tray or bucket before moving to the next spot, this helps prevent any bugs from escaping or being missed.
Tip: For soft bottomed streams, adapt your technique by gently lifting plants and fine sediment, rather than kicking hard.
4. Prepare the Final Sample
Once you've finished collecting your subsamples and combined them into a bucket or tray:
Pick out any large sticks or stones (but check them for bugs first!)
Give the mixture a final swirl and check that everything's well combined
Transfer the contents into your sample container
Use a small amount of stream water to help rinse remaining material in
Important: Only fill the container about one-third full with stream material and water. You’ll need to leave room for ethanol or isopropanol to preserve the sample in the next step.
5. Add Preservative and Label Clearly
Top up the container with ethanol or isopropanol until it reaches about two-thirds full, so the final mix is roughly 70% alcohol to 30% stream sample. This helps preserve the macroinvertebrates for lab analysis.
Then:
Place one waterproof label inside the container (write in pencil or ethanol-proof ink)
Add a second label to the outside with the same details
If shipping, include a hazardous substance sticker on the outer packaging
Your labels should include:
Site name and location
Date and time
Collector name
Substrate type (e.g. “Hard-bottom”)
6. Send It To The Lab
If you’re using a lab like Aqualore Labs, make sure to:
Include a completed Chain of Custody form (Aqualore Labs form)
Tape the container lid shut securely to prevent leaks
Place the container in a sealed plastic bag, then inside a rigid outer container (like a chilly bin or leak-proof courier box)
Use a courier that accepts hazardous goods, we can recommend one if you're unsure
Ship it off as soon as possible and we’ll take it from there, processing, identifying, and quantifying everything in your sample according to the NEMS protocol.
The Power of Doing It Right
Water testing can tell you what’s in a stream right now, things like pH, nitrates, or temperature at the moment of sampling. But macroinvertebrates show something more, they reveal what the stream has been like over time.
Because many freshwater bugs live in streams for weeks to months, they’re exposed to everything the water goes through, good and bad. Their presence, absence, and diversity reflect not just a single event, but the overall condition of the stream over time. That makes macroinvertebrate sampling one of the most reliable indicators of long-term stream health.
It’s why councils, ecologists, and landowners across New Zealand rely on metrics like MCI, QMCI, and ASPM for freshwater reporting. And it’s why following the NEMS protocol matters, it ensures your data is scientifically robust, repeatable, and useful for real decision making.
At Aqualore Labs, we process your sample using this same standard, giving you results you can use with confidence for compliance, restoration, or simply knowing the true state of your stream.
Stream health, revealed with clarity.
Curious, But Not Doing Official Monitoring?
This guide is for those needing to follow the official scientific method, especially for compliance, resource consent, or SOE monitoring.
But if you’re just curious about your local stream, or want to explore citizen science with your community or school, there’s still a place for you. In a future post, we’ll share a simplified version of this method that’s perfect for curious minds, weekend wanderers, and education groups. Because we believe everyone should be able to see what lives beneath the surface, even without a contract or council report.
Need Help or Equipment Advice?
If you’re not sure what gear you need or whether your site qualifies, we’re happy to help. Use our Contact Us page for general enquiries or for help to get started, or fill out the Aqualore Labs Form to start your order and quote. We’re here to make things easier and to help you get the data you need to care for your freshwater.
Gold Standards Start Here
If you’d like to dive deeper into the official guidelines or explore the full NEMS framework yourself, you can visit the National Environmental Monitoring Standards website here https://www.nems.org.nz. It’s the trusted source we rely on to help ensure your stream samples are collected to New Zealand’s gold standard.